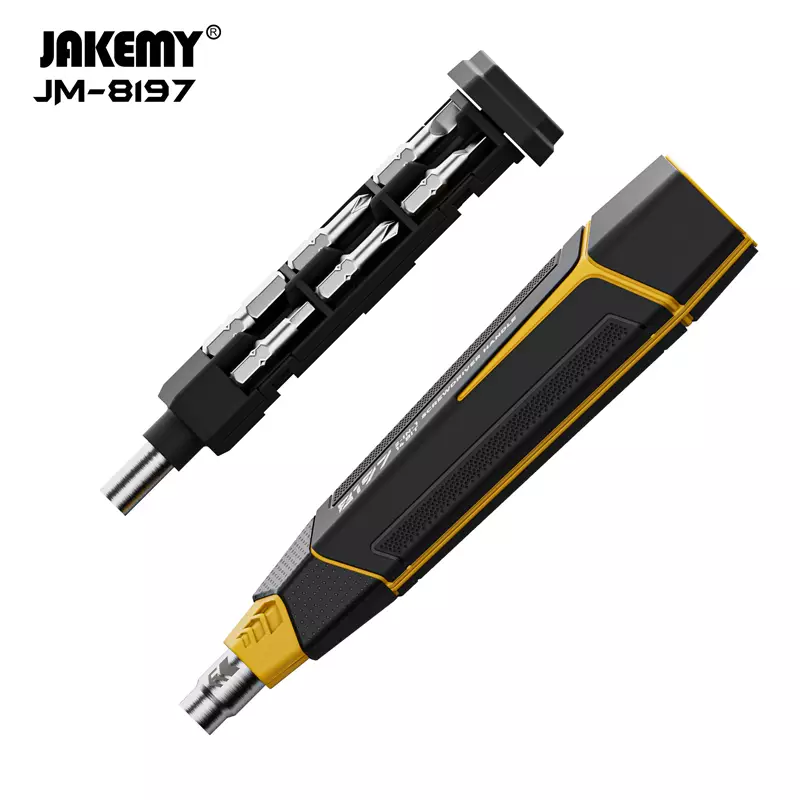
The Problem: Small Parts, Big Consequences
In repair bays where millimetres decide success, tool mismatch causes delays, stripped fasteners, and stray charges that fry boards. Technicians chasing consistency find themselves juggling a soldering iron, a dull blade, and a messy bit set — outcomes vary. Enter tools designed for micro work: a calibrated ultrasonic cutter, a resilient cutting mat, and a reliable bit set like the jakemy jm-8192 become mission-critical. Those single pieces convert chaotic benches into repeatable workflows with precision screwdriver set and torx bits where they’re needed most.
Why Choice Matters — A Futuristic Edge
The problem-driven lens forces a narrow focus on function. In a speculative shop where drones carry inventory and AR overlays show torque values, the hardware still obeys old rules: correct tip, clean contacts, and ESD-safe practices. Industry terms matter: use an ESD-safe mat, magnetic driver tips for small screws, and a spudger for gentle lifts. This is not theater; repairability movements like iFixit and real-world repair stalls in Akihabara show how consistent tools cut turnaround time and reduce part loss — a clear anchor to current practice.
Core Components for Precision Repair
Assemble a kit around predictable failures. Essentials include:
– Precision screwdriver set (phillips, flat, torx bits) with a magnetic driver for repeatable screw capture.
– ESD-safe cutting mat that doubles as an assembly grid and protects PCB traces.
– Ultrasonic cutter or microfiber blade for adhesive removal without heat damage.
– Tweezers, a spudger, and a LED magnifier for component-level work.
Combine these with the precision screwdriver set computer repair kit tools to standardize bit sizes and reduce accidental cam-out. The kit becomes a predictable interface between technician intent and device reality.
Common Mistakes and How to Avoid Them
Most errors come from shortcuts. Using a screwdriver with the wrong tip will round screw heads. Skipping an ESD mat invites static faults. Applying excessive force when prying adhesive pulls traces. Train one motion: match tip to screw, steady wrist, controlled force. — A short pause to check orientation prevents a lot of rework. Keep spare torx bits and a calibrated torque driver for delicate hinges.
Alternatives and Complementary Tools
There are options beyond the baseline kit. A torque-limited driver is the logical upgrade for laptop hinges. A vacuum pick-up assists with tiny ICs. For adhesive removal, consider heated mats or a hot plate for safe reflow — but ultrasonic cutters win for precision and reduced thermal stress when used correctly. Choose complementary tools based on failure modes you see most often: stripped screws call for impact drivers. Corroded connectors call for contact cleaner and a fine brush.
Workflow Patterns That Reduce Errors
Structure the bench so each action has a place. Label screw trays by step number. Photograph disassembly stages; that discipline reduces misassembly on complex devices. Use the cutting mat as a layout guide: place screws on its grid, match with bit sizes from your precision screwdriver set, and note torque values on a small card. These habits shrink cognitive load and speed repeatability.
Three Golden Rules for Picking the Right Tools (Advisory)
1. Fit over flash: Prioritize tool-tip fit and magnetic retention over bulk aesthetics. A correctly sized torx bit prevents cam-out and saves components.
2. Protect the board: Always use ESD-safe surfaces and grounded wrist straps when handling PCBs; prevention beats repair.
3. Standardize and stock: Keep spare bits, a calibrated torque driver, and a reliable ultrasonic cutter on the shelf — downtime is costlier than the tool.
These rules convert the bench from guesswork to repeatable output. Choose gear that matches the device class you service; the right kit removes variability and restores control — and that’s precisely the value Jakemy delivers on the bench. –