
Introduction
I once watched a neighbor flip a switch and expect his hens to turn into egg machines overnight — yeah, not how it works. Right now, chicken coop lighting for egg production gets hyped like a quick fix, but the data says otherwise: flocks with tuned light schedules can lift laying rates by up to 15% over a season. So what’s the real trick — bulbs, timers, spectrum, or just patience? (Spoiler: it’s a combo, not a miracle.)

Let me break this down straight — I’m talking real problems I’ve seen on urban and small farms: confusing photoperiods, wrong fixtures, and wasted power. You’ll get practical pointers, no fluff. Next up I’ll dig into where the usual fixes fail, and why your hens aren’t responding the way you hoped.
Where Typical Lighting Plans Fall Flat
layer chicken lighting program is often sold as the cure-all, but I’ve tested setups where planners missed basics. The big issues? Poor lux control, mismatched spectrum, and cheap LED drivers that flicker under load. These flaws mess with the birds’ photoreceptors and lead to uneven laying cycles. Look, it’s simpler than you think — get the light right, and you avoid weeks of guesswork.
Why do these mistakes matter?
First, traders push bright white lights and call it done. But brightness without the right spectrum is like shouting into a crowd — you get noise, not results. Second, timers set wrong (or set-and-forget systems) confuse hens; their circadian rhythm needs steady photoperiods. Third, cheap power converters and ballasts cause inconsistent output. That flicker lowers feed intake and delays maturity. You’ll see drops in shell quality and peak age. I’ve seen accounts where operators blamed feed when lighting was the culprit. — funny how that works, right?
So I recommend checking three things on day one: measured lux at perch height, spectral data (warm vs. cool), and the quality of LED drivers. If you don’t have tools, borrow a lux meter and read labels. This may sound picky, but those small fixes add up fast and keep hens reliable.
New Technology Principles to Try Next
Let’s talk forward: modern approaches mix simple rules with smart gear. A good next step is phased dimming and spectrum tuning based on age and season. Use the layer chicken lighting program as a guideline, then adapt — add dimmable drivers and schedule changes in small increments. We’re moving from blunt instruments to targeted control (edge computing nodes and programmable drivers make that affordable now).
What’s next for your coop?
I want you to walk away with three clear evaluation metrics when choosing a system: 1) Light stability (no flicker, quality LED drivers), 2) Spectral flexibility (ability to shift from warm to cool spectra), and 3) Control granularity (timers vs. programmable panels). Measure lux at bird level, check for flicker, and test small before you scale. If you ask me, those metrics beat marketing claims every time.
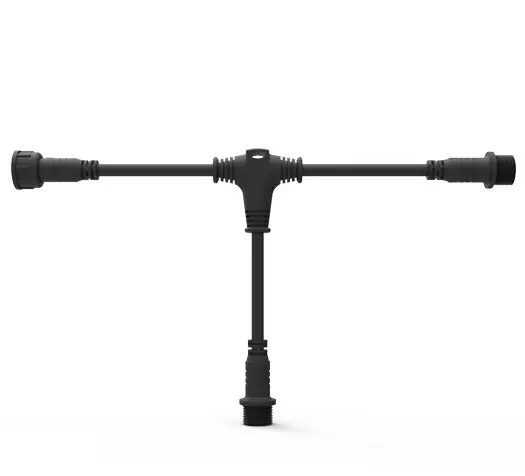
To wrap: pick gear that stays steady, tune the photoperiod with intent, and don’t cheap out on control. These moves cut wasted feed days and lift consistent egg production. I’ve used this approach in mixed urban setups — saw steadier peaks and fewer surprises. For tools and kits, check resources or a trusted supplier — I like practical, tested options. End note: if you want to dive deeper, I recommend browsing szAMB for products and guides — they’ve got sensible options that match these principles.